Introduction to Behavior Tree in Unity 6
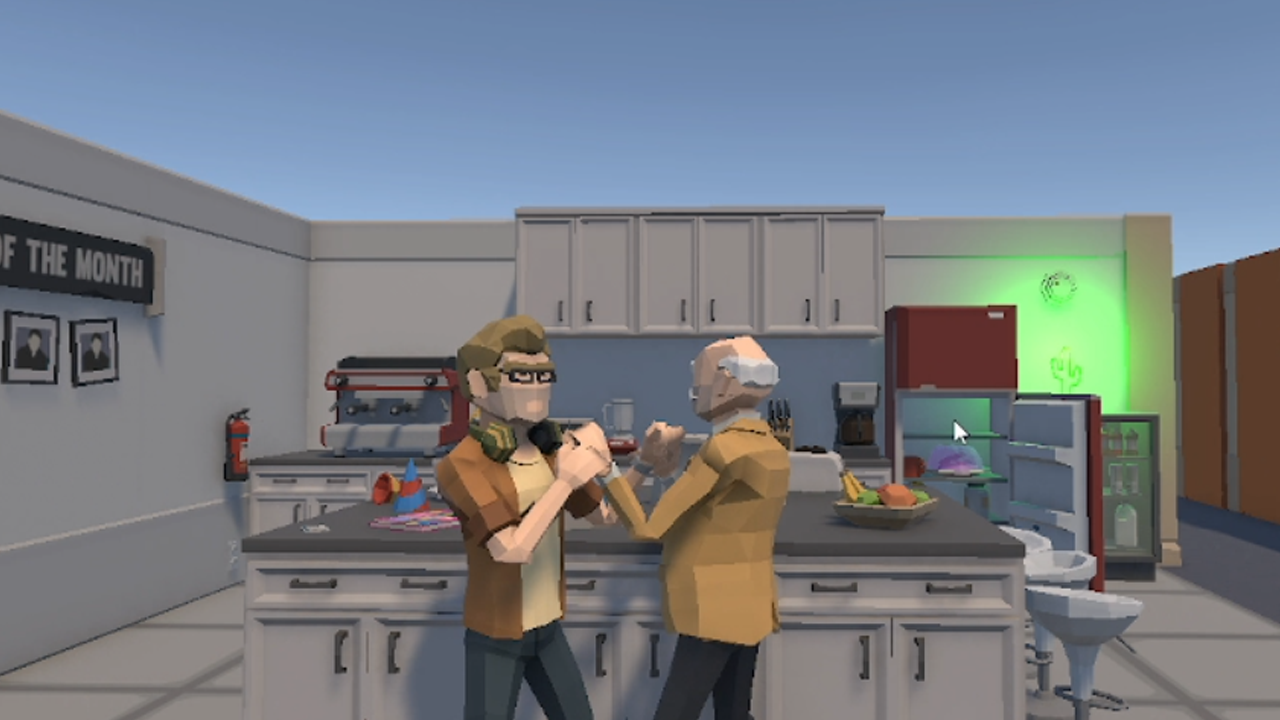
Hello Game Dev, Unity 6 has been released with so many awesome features and one of them I liked most is the introduction of Behavior Tree. This is a visual tool for creating behaviors to control Non-playable characters like enemy, bots or other characters in your game. In this article let’s check this package by creating behavior for two NPCs.
Before we dive in, remember that this package is only available on Unity 6000.0.16f1 or above. So if you want to use this package, ensure you are using a compatible version of Unity.
Project Setup
Here, I am using Unity 6 23f1 version. I have created an empty project with 3d default template.
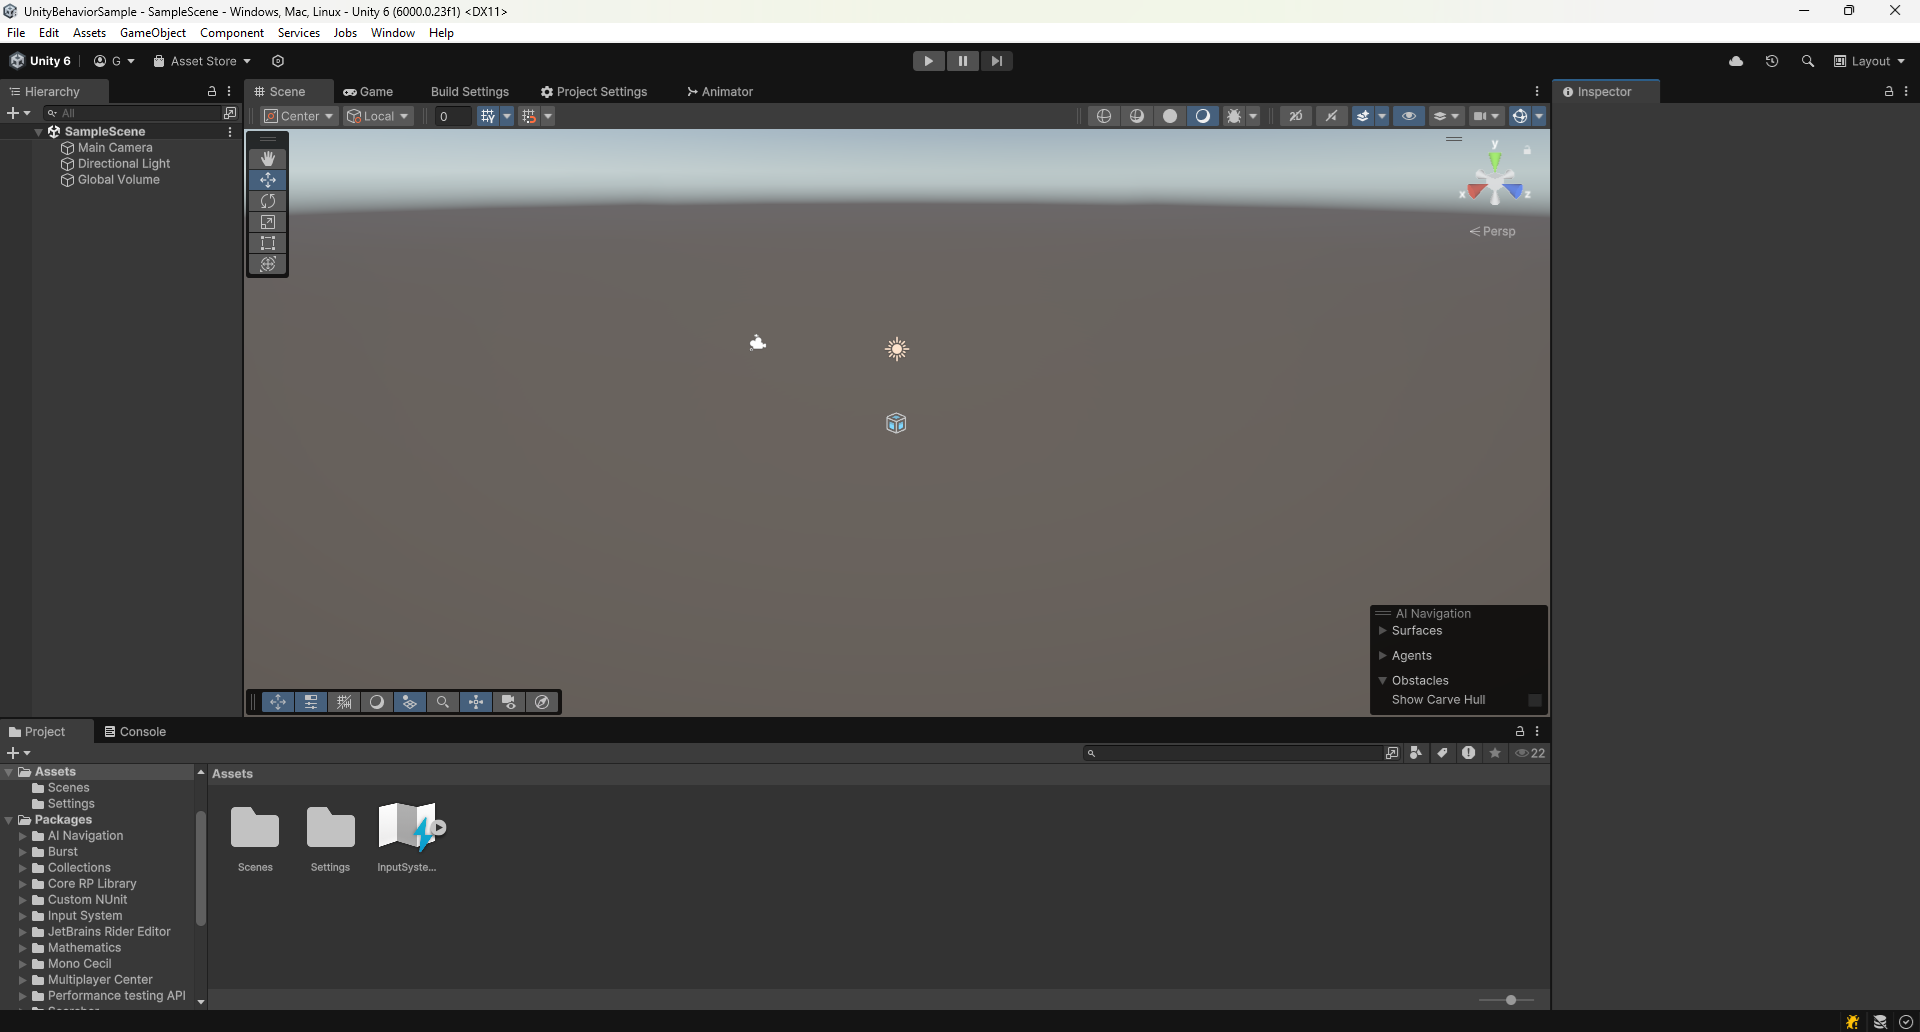
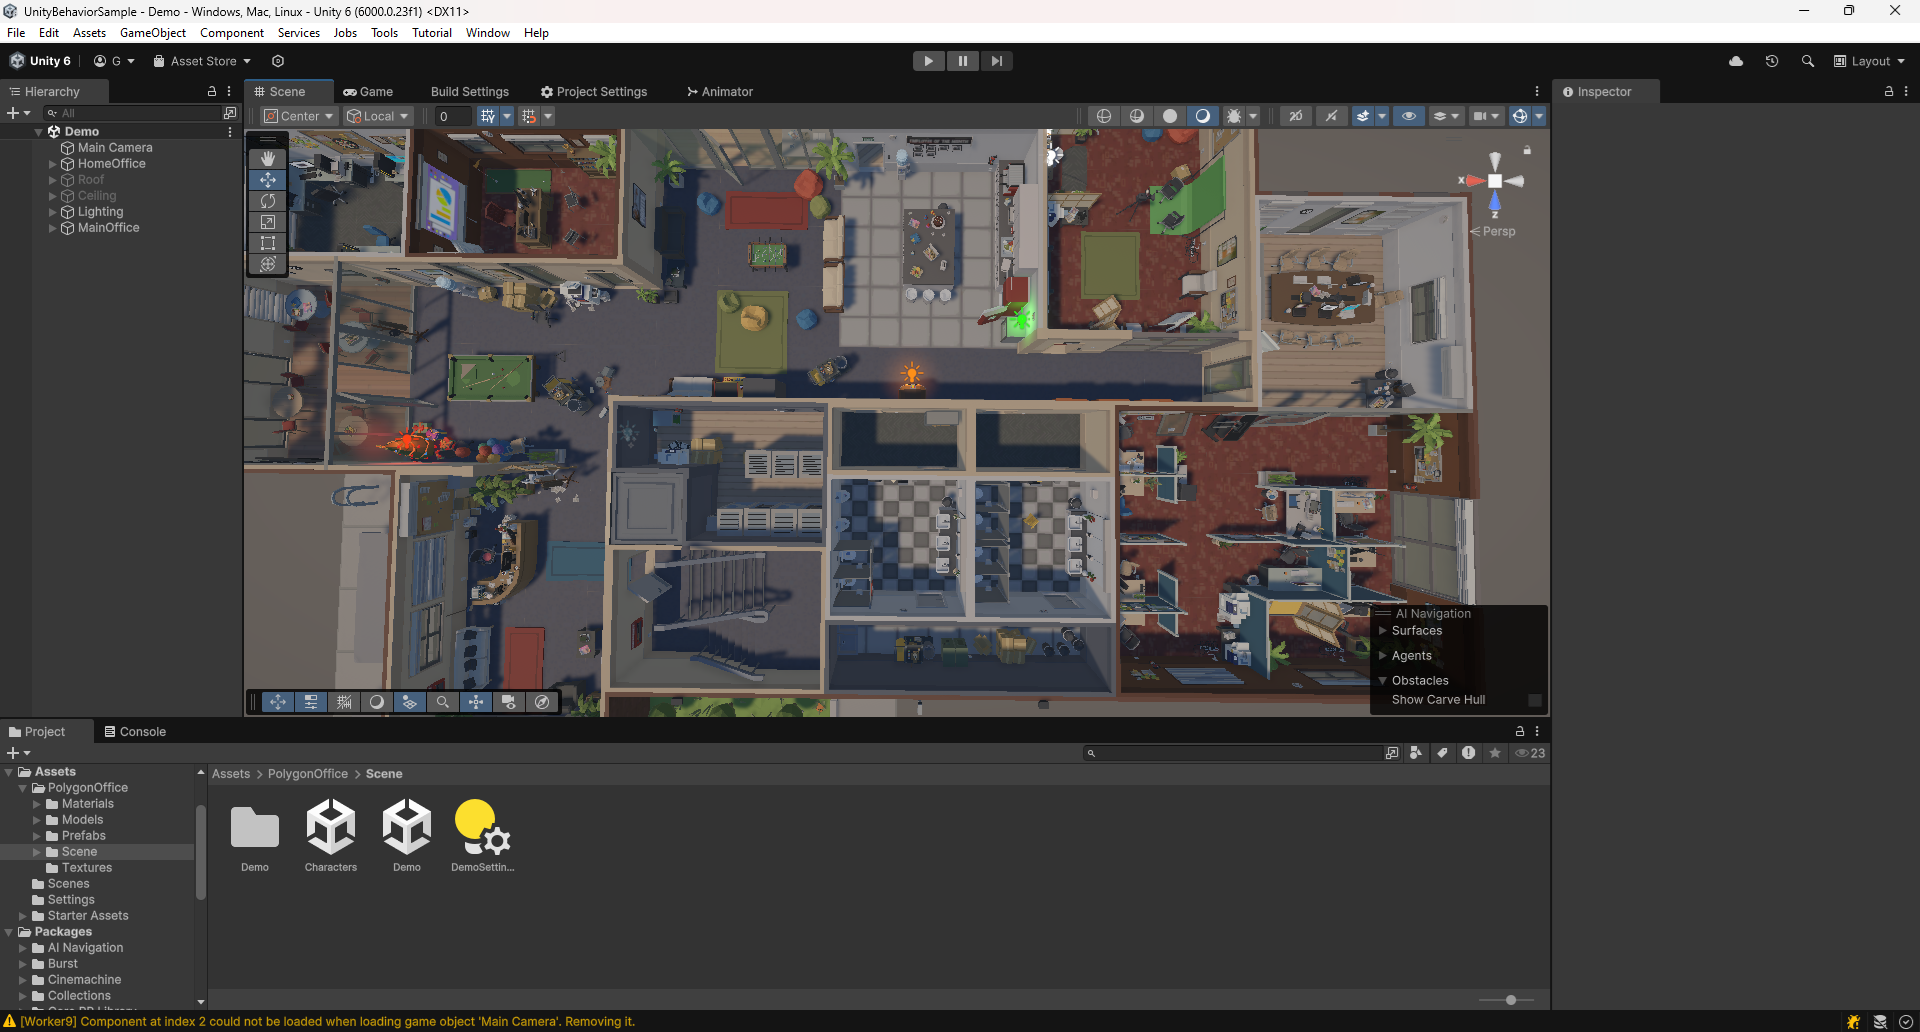
For this demo, I am using Synty’s Office package which is a paid asset you can get from the link below. But you can also use any other assets you want. I also imported starter asset from Unity registry which is used for character controller. For importing the Unity Behavior package, go the Windows -> Package Manager and click Install package by name. Type the package name com.unity.behavior. Once done, open up the sample scene that comes with the Synty Office pack.
Character Setup
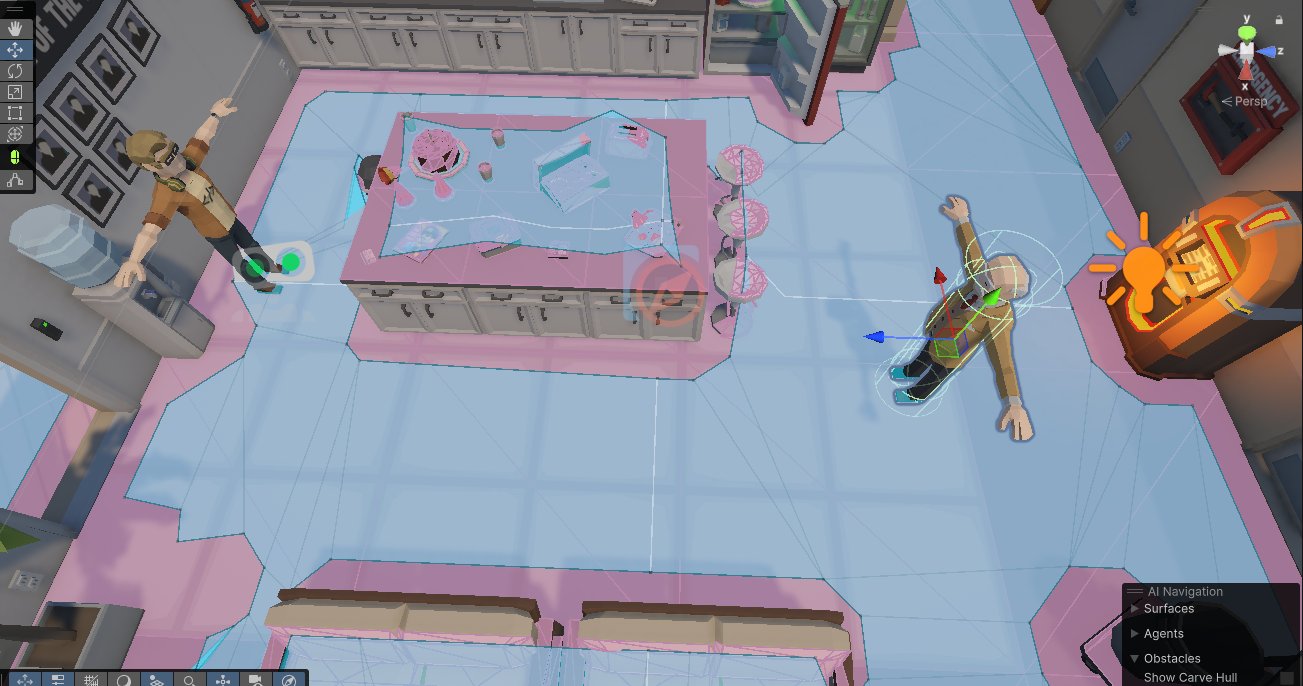
For this demo, I am using two characters from the Office package: a developer or an employee and a boss. Here, I am planning to use Behavior package to add ai behaviors to these two NPC and make them fight with each other. So I am dropping by character’s prefab in to the scene. I need my characters to be animated, so I am ensuring my character has animator component and an animation controller is attached.
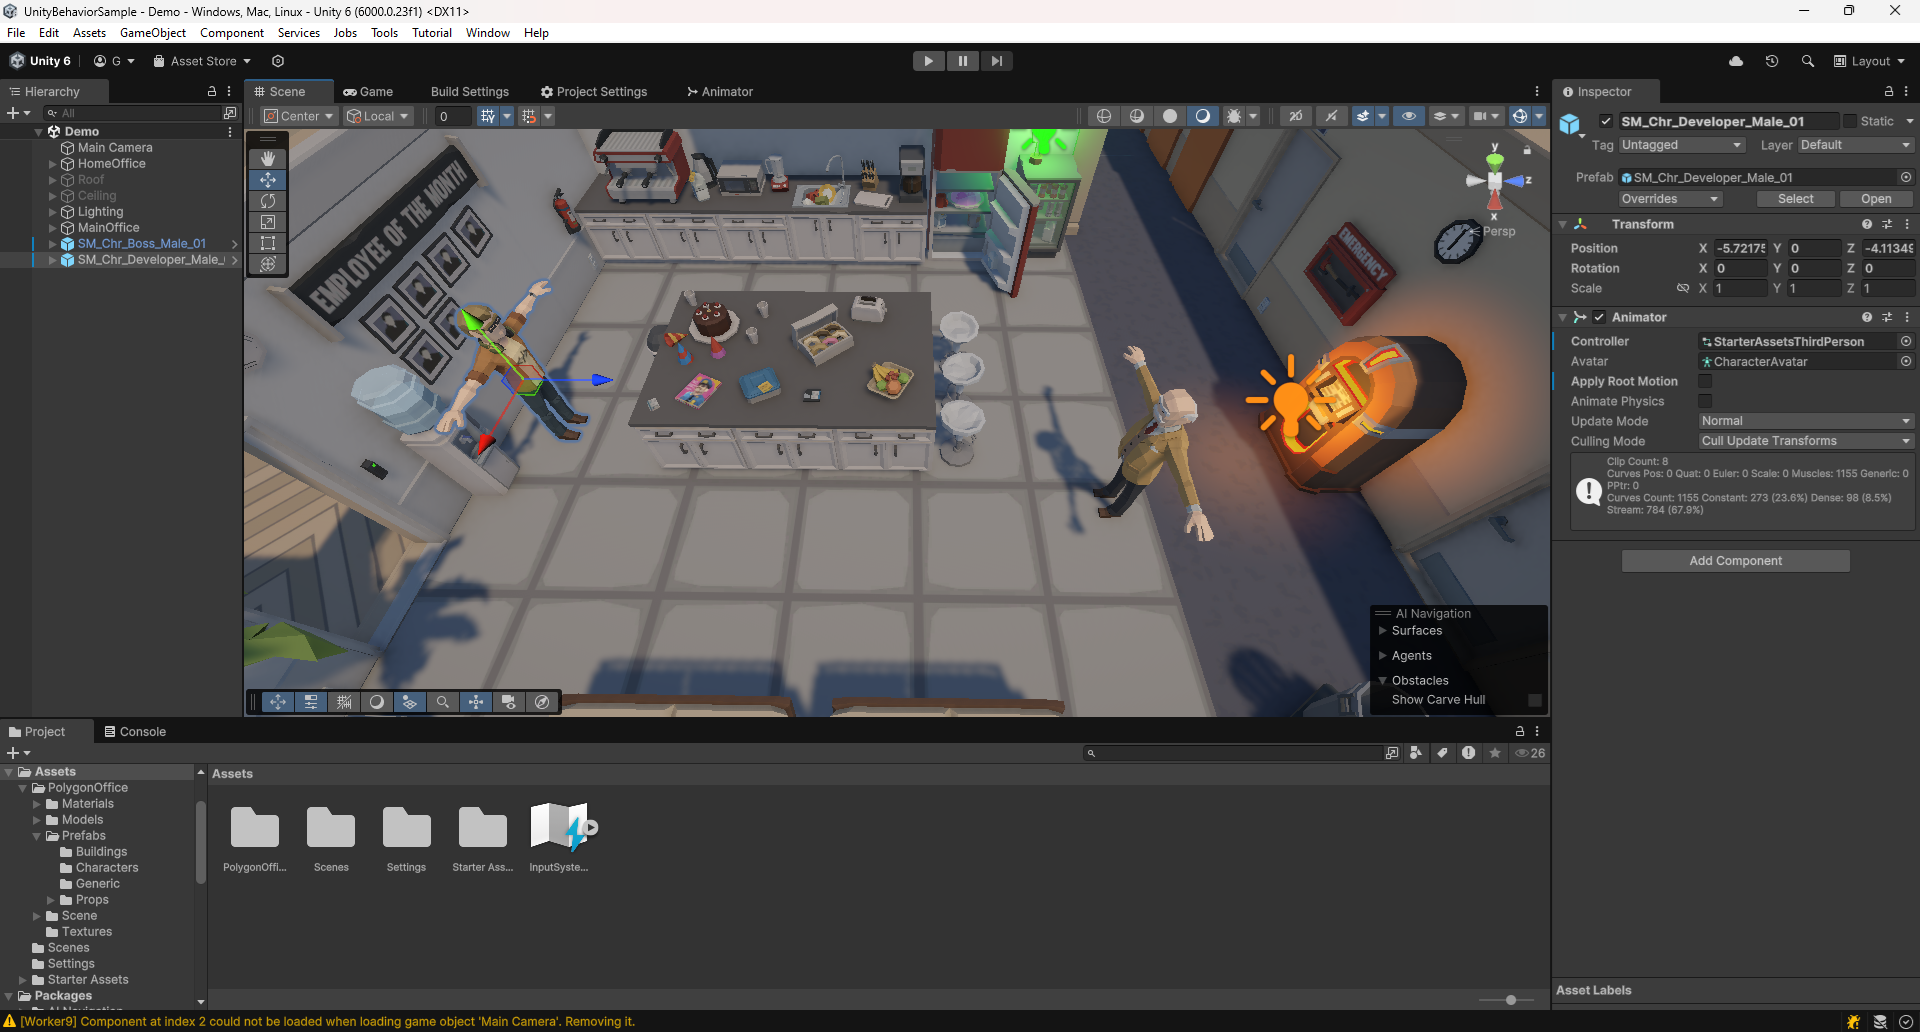
To Move around the world, I am going to use NavMesh from Unity. So I have added NavMeshAgent component to both my characters and baked the Navmesh for this scene. Adjust the agent height and radius according to your characters. In my case, I have set the height to 1.8 and obstacle avoidance radius to 0.3. I also added capsule collider component and adjusted the height, radius and center to fit my character. Then finally I adjusted my camera view to cover both the players. I also downloaded a punching animation from mixamo and added it to my animation controller.
Add Behavior
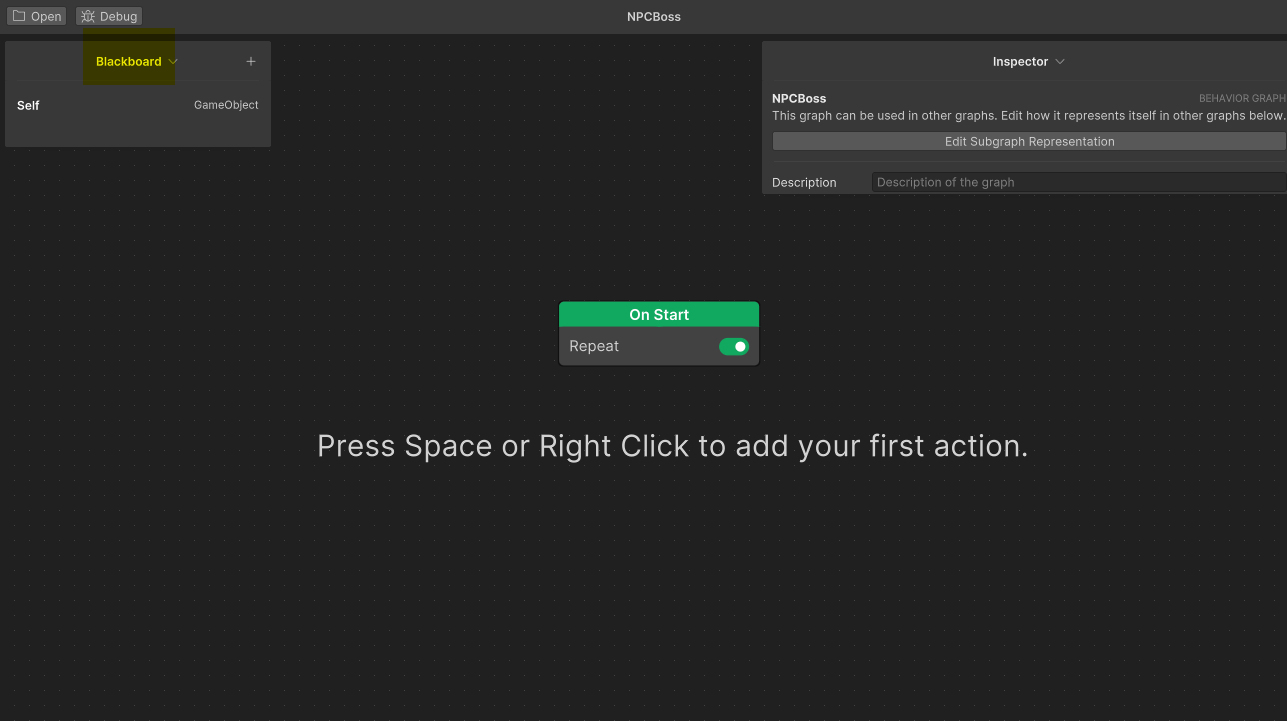
Now we dive in to real action. Right click on the project window and click Create -> Behavior -> Behavior Graph from the menu. I named it as NPCBoss. When you double click that, Unity will open that in a new window. Behavior graph is a hierarchical tree like structure that has nodes connected between them. Each node contains some logic for a single step. Nodes are grouped into three: Action, Events and Flow. Other than the nodes provided by Unity, we can also create a custom one for our logic. On the top left, we can see a panel named Blackboard. This is used to define and manage the variables that will be used by the Behavior graph. Any data that we want to pass from our scene to the graph, we can define a variable in the black board and it will be exposed in the inspector window. Every graph will be created with a On Start node which will be the root of our graph. It will also repeat our nodes connected to it.
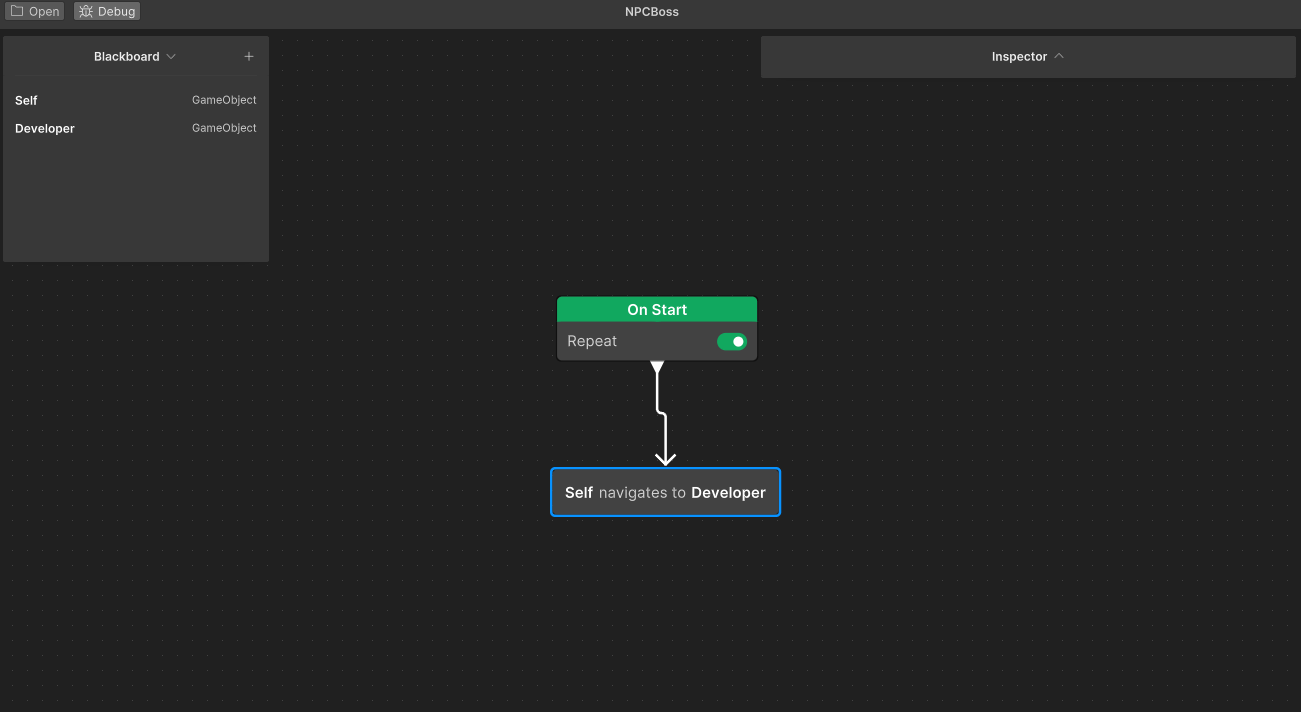
In our example, we want to move our boss character towards the developer. So obviously we want the position of our developer to move our Boss’s navmesh agent. So to get the developer object from the scene view, we will create a GameObject variable in the Blackboard named Developer. Now to move the current game object to the target game object, Unity provides a built-in node called Navigate to Target. Press space or right click on the canvas and search for Navigate to Target and select the node. In the Agent input select Self and in the Target select Developer.
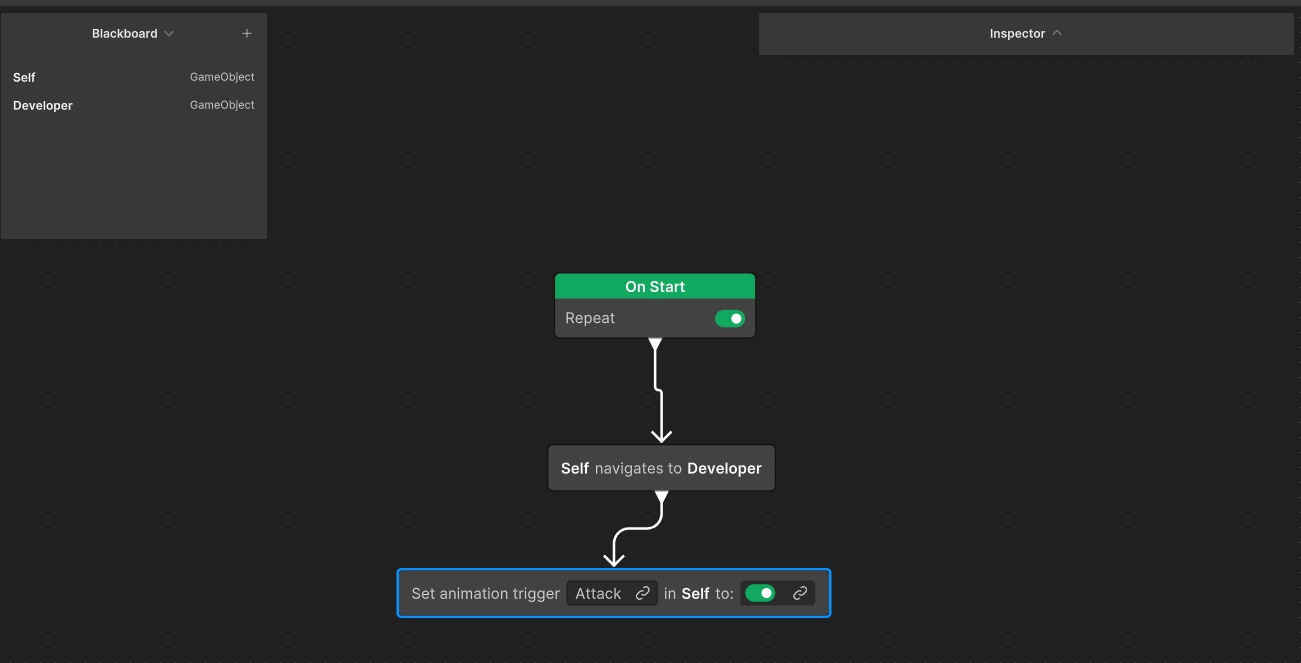
This will move our agent to the target. The next step is to trigger the attack animation when our agent has reached his destination. For that, select the Set Animation Trigger node. Set the Animation name to your Attack animation name, set the animator to Self and then check the trigger.
I am using Unity’s starter asset Animation controller. Since it uses one more animation param to move the character, I need to set that animation value when moving the agent. Since we want to run both the agent movement and the animation param in sync, we will use one Flow node called Run in Parallel action and combine our Set Animation Trigger node.
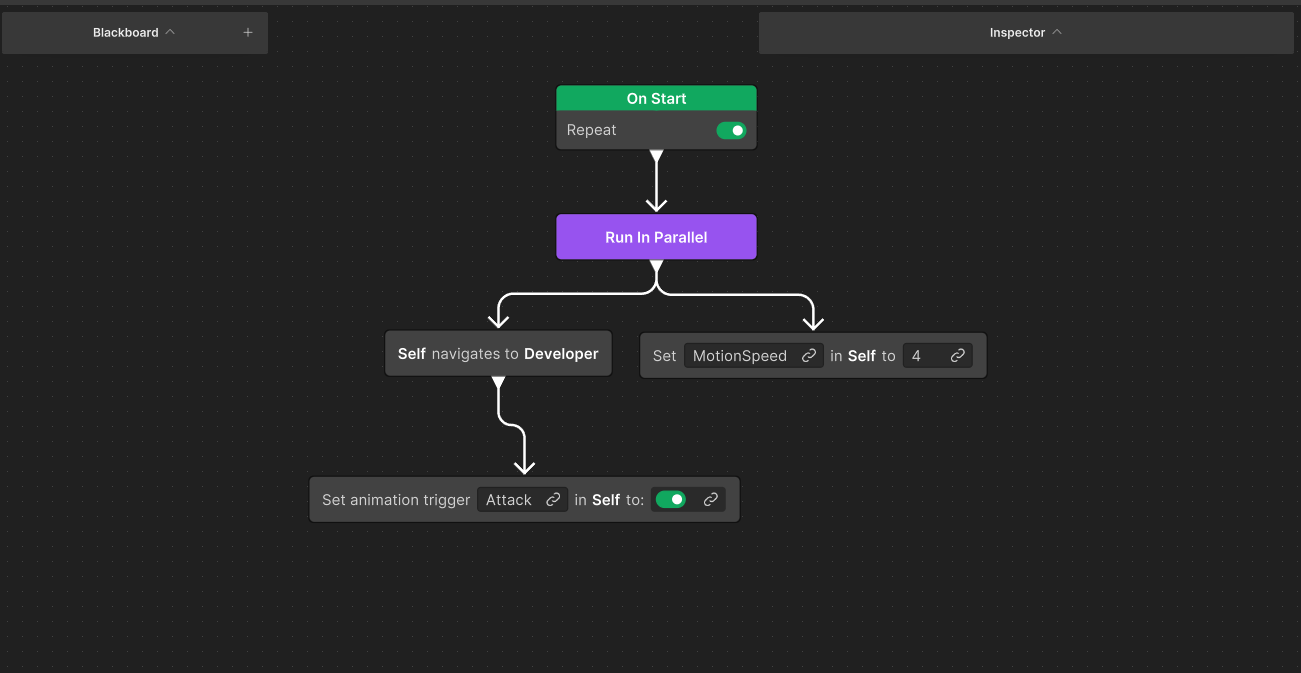
Finally, we also need to give the same kind of behavior to our developer also, lets copy this behavior graph and modify it for our developer. I have changed the Developer variable to Boss both in Blackboard and Navigation action.
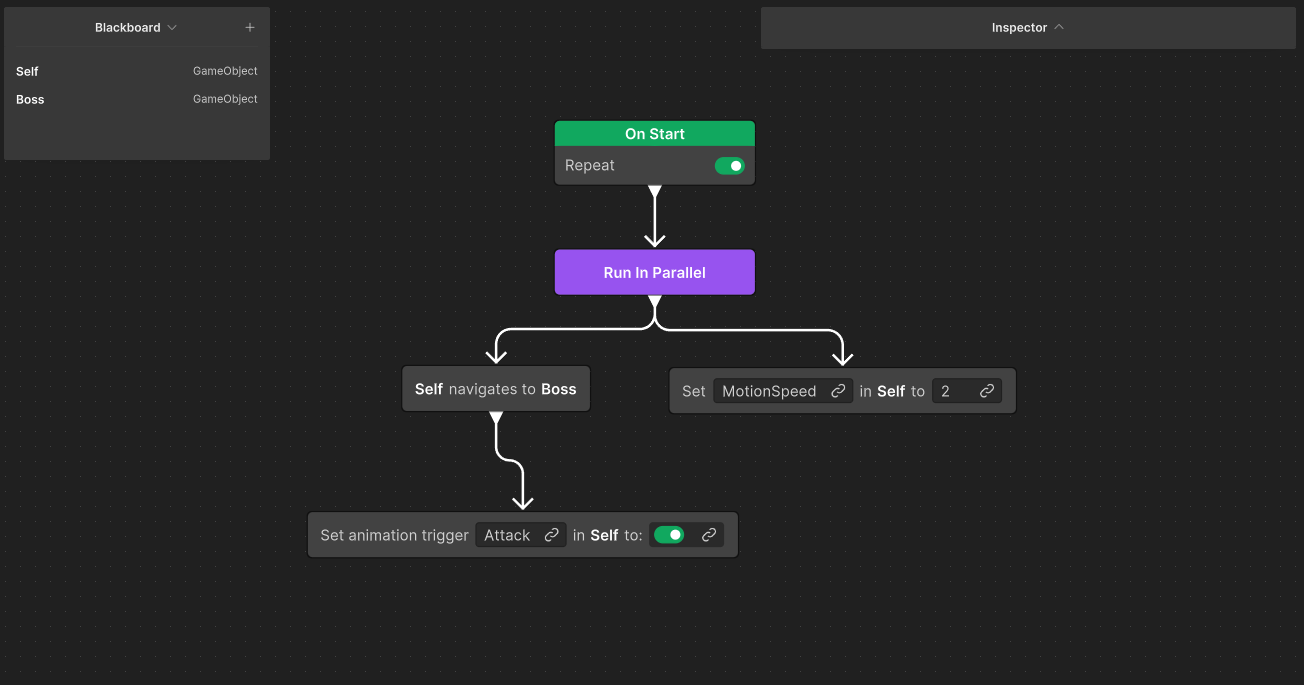
Now we reached the final step. We need to add these behavior graphs to our respective game objects. Add a Behavior Agent component to our Developer game object and assign the NPCPlayer graph to it. Once assigned, it will expose our Boss game object in the inspector. Assign the boss object to it. Do the same step to our boss character as well.

That’s it! Now hit Play and you will see the two NPC players get close and start fighting.
And that’s a wrap! We’ve just scratched the surface of Unity’s Behavior Graph package today. With so many more features to explore, we can’t wait to dive deeper in future articles. Make sure to subscribe and drop a comment below!